|
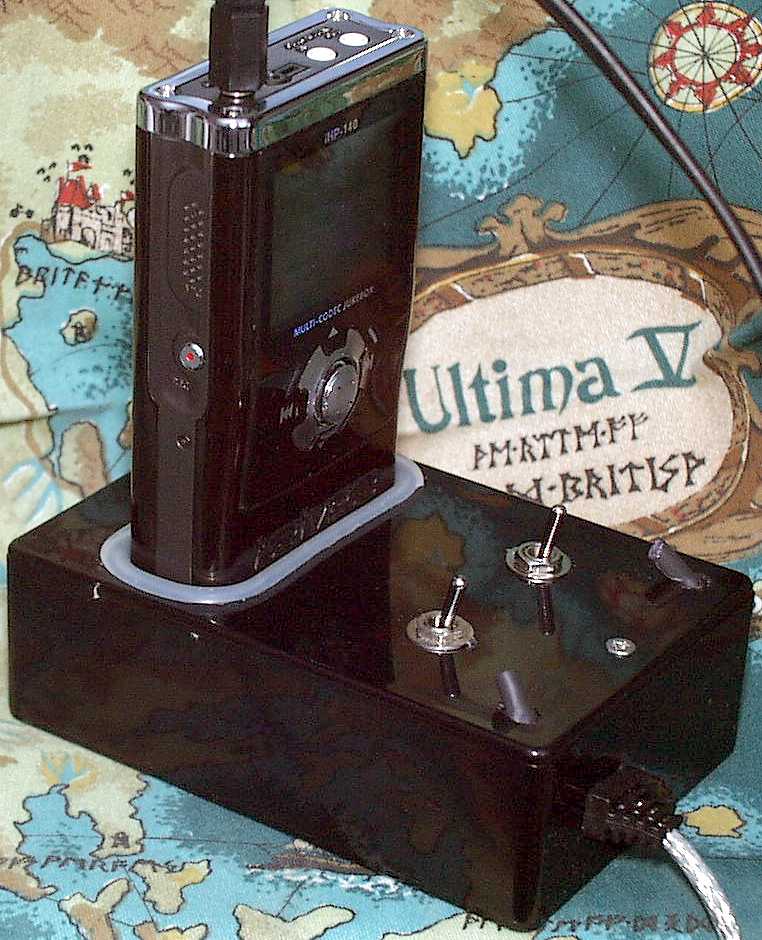
Shortly after getting my iRiver iHP-140 player I realized it lacked something extremely useful, a dock that can allow you to sync and/or charge the player, even going so far as to thinking that it's certainly possible to build one with a 4x AA battery holder and speakers (from a Creative Travelsound 200 unit) so you can charge the iHP on the move and listen to music without the need of headphones, as well as being able to plug it into a computer to sync the data & charge it from there rather than the AA batteries. Aaaanyway, before I tackled the version with batteries & speakers I thought I better walk before I run so I built a dock that can simultaneously charge and sync with your PC, or just charge or just sync. I started off by getting a compatable power plug and USB A to mini B cable which I chopped the end off and mounted them both into a block of wood: 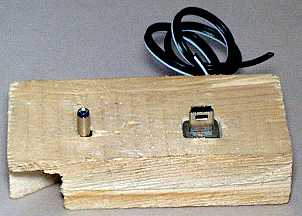 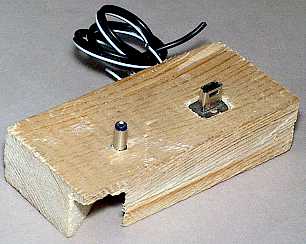  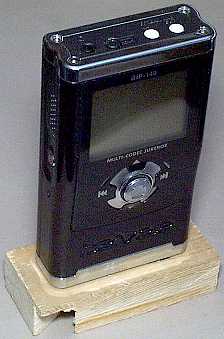 After that I went to Maplins to get some bits'n'bobs: 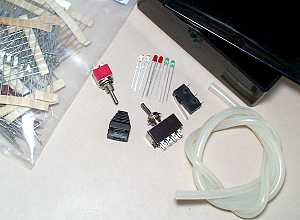 1x 4-pole 2-state switch - Ł2.99 1x 2-pole 2-state switch - Ł1.49 1x black plastic project box - Ł1.99 2x bright white 3mm LEDs - Ł4.98 2x bright red 5mm LEDs - Ł1.58 2x bright green 5mm LEDs - Ł1.58 1x green 3mm 5V LED - Ł.18 1x cable holder - Ł.20 (bit that holds the USB cable coming out of the back of the box) a pack of resistors (should've spent the time picking out the specific ones I needed than wasting money on a load of ones I'd never use) USB A to mini B lead - Ł5 from eBay (don't chop up your only USB lead!) Tools bought at the same time: Glue gun - Ł9 Multimeter - Ł5 Decent craft knife - Ł3.50 Other tools/bits used: Pliers 3.2mm heat shrink tubing Thin wire Mini hacksaw Small files Mini power connector plug A length of rubber tubing to go round the hole in the lid in the box, bought from my local Antics model shop it's fuel-line tubing for petrol powered RC cars Soldering iron + solder The clear tubing is some left over fuel pipe from my petrol powered RC car, I got the tubing from my local Antics model shop. I fixed the wires in the wood block using a glue gun, had to have the iHP-140 plugged into it whilst doing this so the plugs would be aligned properly - a delicate operation as the glue comes out at up to 120 degrees celcius (I know this because I measured it using my wristwatch with built-in thermoscanner). Once the wires were set I started on the soldering which took a good day to do most of, before I started wiring the bits together I set to on drawing on paper the wiring diagram I had in my head. I cut a hole in the lid of the black plastic project box for the iHP-140 to slot into, then cut a length of the clear tubing to fit and a single slice down the length of it so it would 'clip' round the hole in the lid. Then tried gluing it with the glue gun, the glue stuck to the black plastic extremely well but totally refused to stick to the rubber tubing, so then used some superglue to finish the job. I drilled a hole in the back of the box for the USB cable & cable holder to go into and then fed the cable through (you wouldn't want to wire everything up and then find out you can't put the USB through the back of the box without having to make a hole big enough for the plug to fit through). After wiring it up it looked like this:  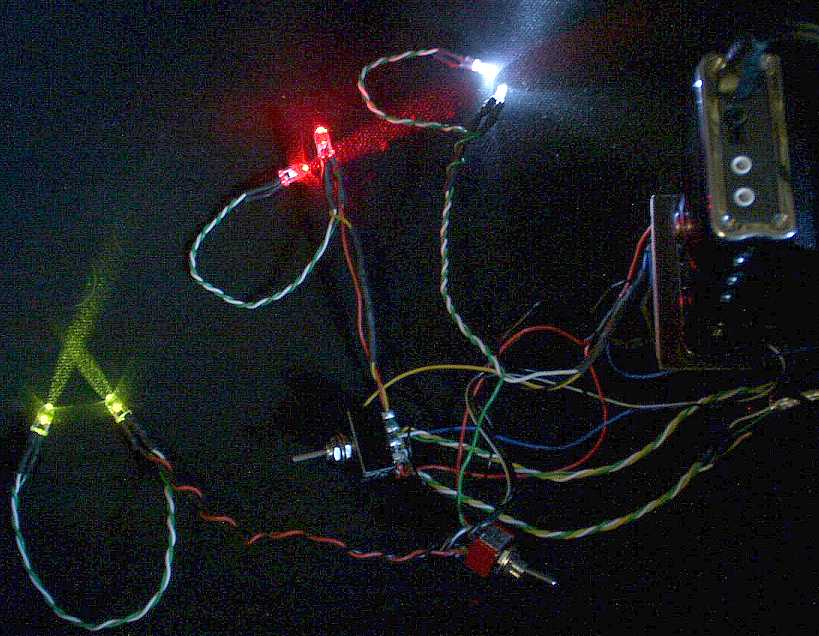 Yup a complete mess that'll have to be crammed into the box. Next I drilled out a couple of holes for the switches and two more for the white LEDs that will point up at the screen, fitted the switches then very carefully using the glue gun I glued the two green LEDs to the underside of the lid right next to the sides of the rubber tubing, and the red LEDs to the front and back of the tubing. More tricky was getting the white LEDs in place because they have to be angled right to point at the screen, I did this by putting a small piece of heat shrink tubing over them to stop light shining out sideways then held the LEDs on the outside of the lid using blu-tack, once in place I used the glue gun on the underneath and they fixed in perfectly fine. 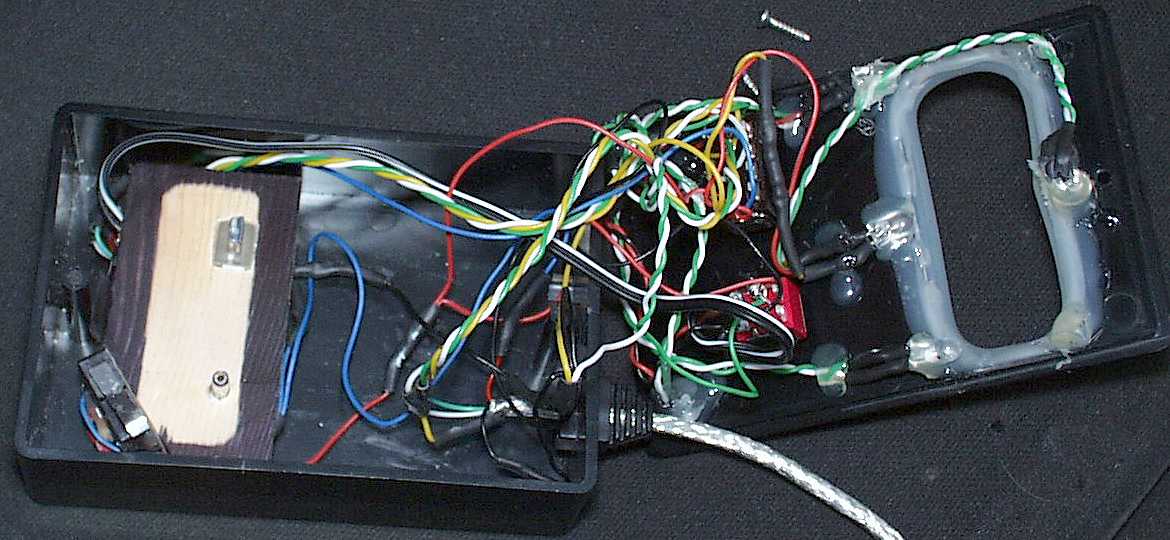 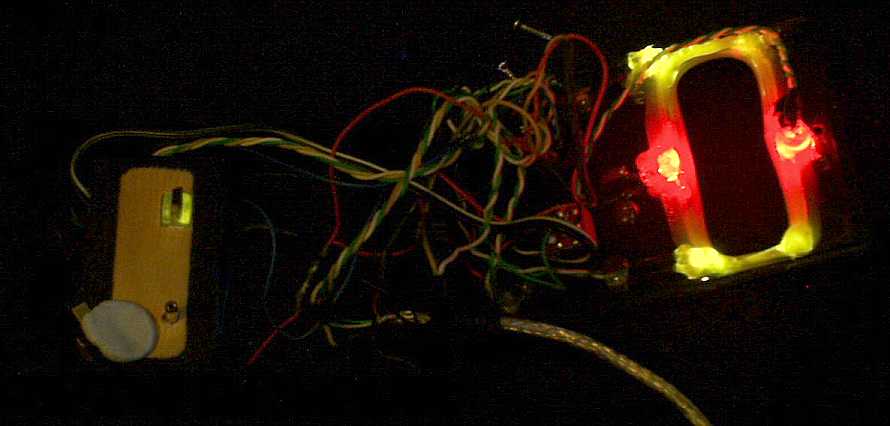 Once the lid is complete I put the iHP-140 through it and stuck the wooden docking part on, then quickly and trickily I put some glue gun glue onto the underside of the wood block and put the lid on then pressed directly down on top of the player to press the glued wood block to the bottom of the box, left it a few minutes and pressing down on the lid pulled the iHP-140 out, leaving the wooden dock block glued in place and the lid on. Screwed the lid on and et. voila, completed!  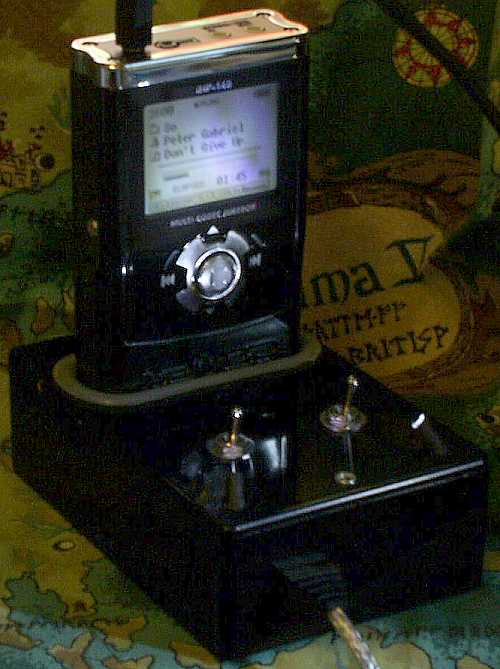 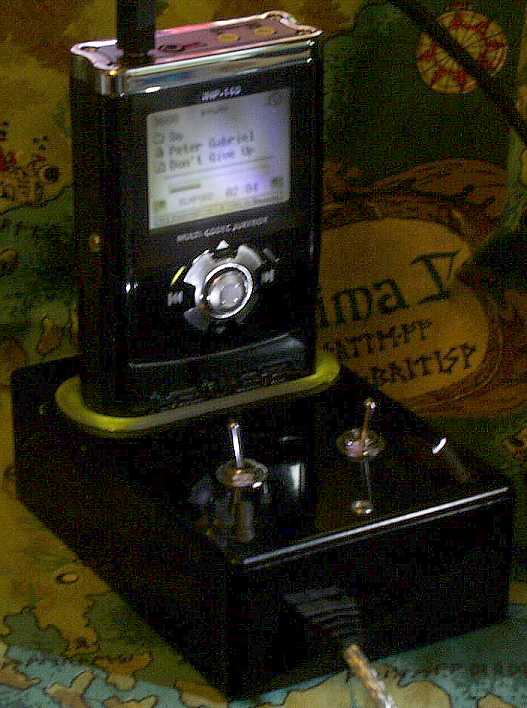 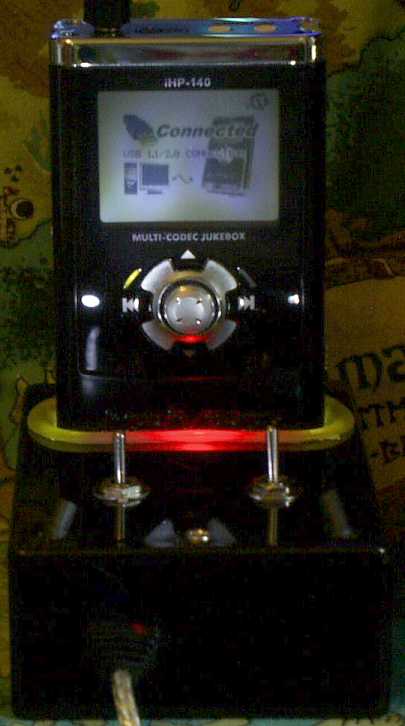 How it works: The left hand switch is connected to the power plug in the dock, allowing you to switch on/off charging the iHP-140. The right hand switch is connected to the USB plug in the dock, allowing you to 'connect' and 'disconnect' the iHP-140 from the PC without actually unplugging the USB connector/lead. The green LEDs are activated by the power switch, indicating the unit is being fed power for charging. The red LEDs are activated by the connector switch, indicating the unit is 'plugged into' the PC. But none of the LEDs will light up unless the 3rd switch, a microswitch mounted in the wooden dock block, is activated by the iHP-140 sitting in the dock. The white LEDs that point at the screen are activated by the 3rd switch. There's also an extra, small green LED mounted in the wooden dock block, this is directly wired into the USB lead that connects to the computer so it's always on when plugged into a powered up PC, this lights up the clear plastic the USB plug is made of in the wooden dock block. 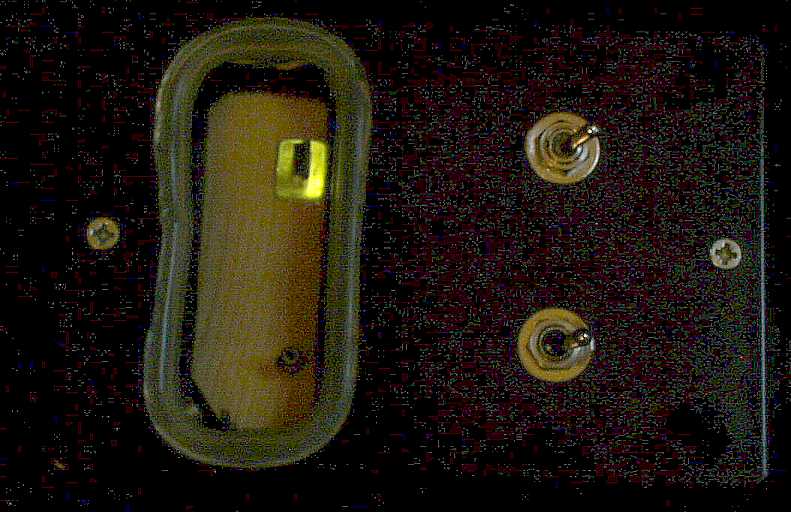 At this stage I don't know if I'll be making another because of the time and effort involved in making just this one, but I'd like to make one that has the 4x AA battery pack and built-in speakers so you can listen to and charge on the move, and capable of handling an iHP-140 wearing an iSkin. Wanna discuss docks? see my thread on this dock at MisticRiver |